Search This Blog

Saturday, August 9, 2014

Texas- the mighty flag quilt

I recently saw a quilt online that was a scrappy Texas quilt.  LOVED IT!  Not for me though, I am partial to the great mitten state.  But for a friend from Texas, I knew it was perfect.

And her bridal shower was just 2 weeks away.  PERFECT!

So I got busy working with the final dimensions of this great quilt being 50 inches by 70 inches.  The red and white sections are each 25 inch by 30 inch.  The blue section is 50inch by 40 inch.  All squares were initially 5.5 inches, which means in the end, each square is 5 inches. I went for a scrappy look to help give the quilt more dimension.


I tried out spray basting on this beauty. And I AM A FAN!!!  I don't think I will ever go back to pin basting again!  I think spray baste cut down on time by 50-75%.

I also learned how to applique with the star. I found a simple star pattern online, traced it onto a piece of fabric I heated some stabilizer onto.  Then I sewed it onto the top piece.
The back I kept simple with a nice red fabric.


I free motion quilted this one.  I still need a lot of work with my FMQ but I love it.  So quick and beautiful!

And I think my friend who received this quilt loved it!  :)  That is the best part!


Wednesday, August 6, 2014

HST-chevron

Thanks to Kate, I have discovered an entire pin on Pinterest on different ways to organize HST to make fun looking patterns.  And who can deny an awesome chevron pattern???


For the project, I used material I cut previously to make a rag quilt, then decided after cutting all this fabric that I really did not feel like all that tedious cutting at the end; especially after just finishing 2 other rag quilts. Plus, I wanted to try my hand at free motion quilting.  :)


I made this quilt more of toddler size for a late baby gift for a friend of mine, which I heard once her daughter received this quilt she loved it, and was dragging it around the house.  Nothing makes you feel better than knowing of your creations makes someone smile.  :)


This was my first attempt at free motion quilting. I think it turned out okay.  Have to admit, I am kind of digging the FMQ.  It is like a puzzle as you are finishing your quilt!


Friday, August 1, 2014

rag time

For some reason, any time I sew, I end up hearing my pup Dexter, talking to me and trying to get me to stop sewing.  And when I say talking, it really sounds like he is trying to convey a message to me, and no barks are included.  Always brings a smile to my face and makes me laugh.  But really, who could deny this face some attention??  :)


Part of my to do list this year, is making some baby quilts (well toddler quilts) for a couple of friends that recently had little ones in the last year or two. I thought a rag quilt would be a cute quilt, filled with fun fabric.


  I used regular cotton on the top and flannel on the bottom for coziness.


And one of the best parts of rag quilts is that over time, they get cuter, as they get more and more raggity.  :)

Linking up to Finish it up Friday!

Saturday, July 26, 2014

BOM 3- teal and orange

About a month ago I joined this block of the month group on facebook and I made my first block (which was block #3).  I loved the end result, that I just took off making a few of them, wanting to see what a few of these lovely blocks linked together would look like.


After making a few, I stepped back and examined them.  My first thoughts, "wow this is going to be a bright quilt.  Hope it won't hurt your eyes and glow in the dark."  And then I thought " this is going to be a bright quilt- and definately makes you smile!" So I kept going, and 30 squares later, some 400+ HST, I have all the blocks done.  :)

Now the question is, how should I lay out the quilt top??  this block is so much fun because it has so many options!  So, what is your thoughts??

option 1?

option 2?

option 3?

option 4?  

or option 5?


What do you think???

Thursday, July 24, 2014

gray HST- gosh I really love HST!

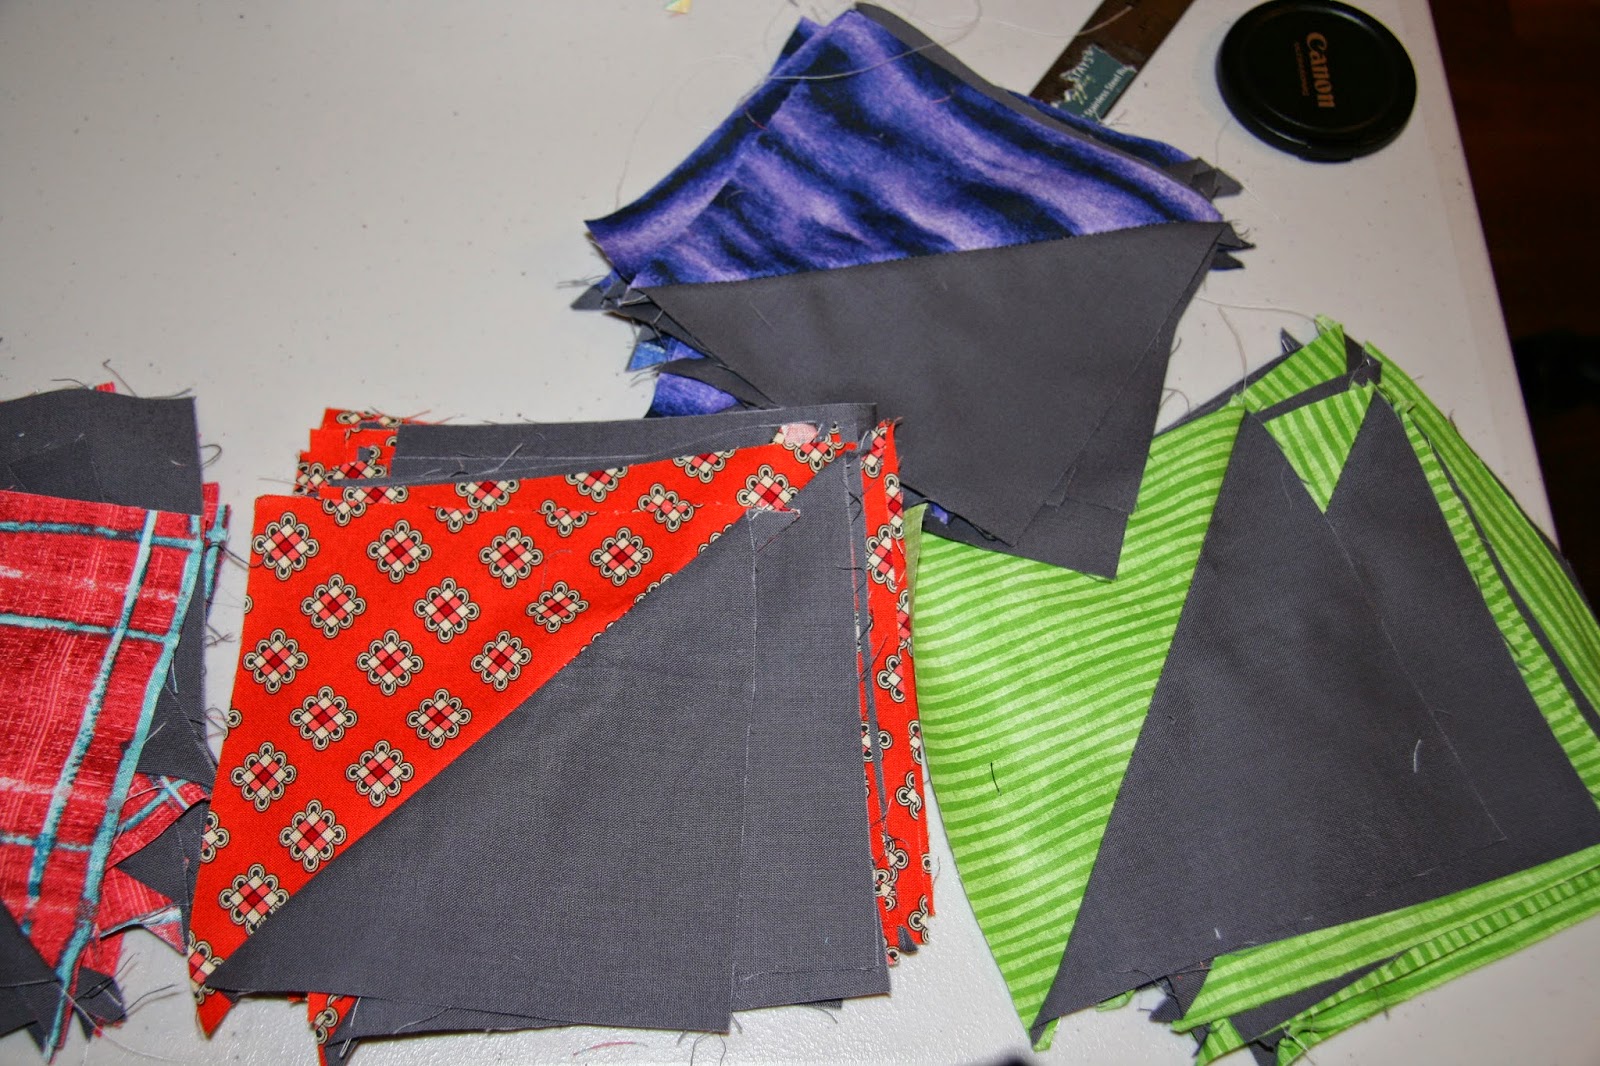
HST, one of my favorite kind of quilts.  This one I got the idea off of on Pinterest.  Saw it, and decided I need to try to make it.  So I grabbed some random bright fabric and went to making HST with dark gray for contrast.


Then I started working on the layout.  I did this one in chunks to help keep everything lined up and try to keep my sanity.  After staring it for a long period of time I would get a little dizzy.  :)


But in the end, I think the top ended up looking great!


Linking up to http://crazymomquilts.blogspot.com/ for finish it up Friday!
and linking up to Richard and Tanya Quilts for Link a Finish Friday  

Saturday, July 19, 2014

sew 2 large get 4 small HST

So I recently joined a block of the month club on facebook where I learned to make this beautiful block!


Along with learning the pattern for this block I also learned an excellent trick for making HST quickly.

This pattern required 4.5 inch HST.  For this technique, you take two 7-inch squares and sew a 1/4 inch stitch around all four corners.


And after sewing a bunch of 7-inch squares together, you end up with a nice stack of sewed together squares.


Now you cut in half diagonally


then cut each half into half again


Which results with each 7-inch sewn together square as 4 4.5-inch HST!!!


Yes, my mind was blown after learning about this (after a soccer game of all things!)

My world of HST is now changed forever!

Thank you Quilting Bee!  :)

Thursday, July 10, 2014

stormy night

So what else should I do on a stormy night other than sew??  I will have to say my pup, Draco, had other ideas, like cuddling him and saving him from thunder.  But at least he curled up under my sewing table (taking up my foot room) while I finished up the top of a fun block quilt I started.


My inspiration for this quilt actually came from the fact I had a ton of 4.5 inch squares left over from a project I was going to do, then changed my pattern at last minute.  I don't regret the change, now I have a new challenge of using up all these 4.5 squares (in cotton and flannel!)


After working on some HST quilts, I wanted to do something less complicated and yet bright and fun. So I ended up putting these pieces together for a nice lap size quilt once it is finished.


Looks like more storms tonight and tomorrow, so perhaps I will get some more much needed sewing done!